

Gift wrapping seems simple, but there is a lot more going on beneath the shiny paper and curling ribbons. People open gifts in just a few seconds, yet professional wrappers spend up to 15 minutes perfecting a single package. Now here is the part most people miss. The real secret to an unforgettable present starts long before you even touch the tape or scissors.
Table of Contents
- Step 1: Gather Essential Gift Wrapping Supplies
- Step 2: Choose the Perfect Wrapping Paper for Your Gift
- Step 3: Measure and Cut Wrapping Paper Accurately
- Step 4: Securely Wrap Your Gift with Neat Edges
- Step 5: Enhance with Ribbons, Bows, and Personalized Touches
- Step 6: Verify the Overall Presentation Before Gifting
Quick Summary
| Key Point | Explanation |
|---|---|
| 1. Gather Quality Supplies First | Collect high-quality wrapping paper, scissors, tape, ribbons, and tags to streamline your gift-wrapping process. |
| 2. Choose Wrapping Paper Thoughtfully | Select paper that reflects the occasion and the recipient’s style, considering color psychology and texture. |
| 3. Measure and Cut Precisely | Measure wrapping paper accurately, allowing for margins to ensure smooth folds and polished edges. |
| 4. Create Neat Wrapped Edges | Manage paper tension and secure seams with minimal tape for clean, professional-looking edges. |
| 5. Enhance with Ribbons and Personal Touches | Use ribbons and embellishments that resonate with the recipient’s personality, adding meaning to your gift presentation. |
Step 1: Gather Essential Gift Wrapping Supplies
Successful gift wrapping begins with assembling the right tools and materials. Professional gift wrappers understand that preparation is half the battle in creating beautifully presented presents. Before diving into the wrapping process, gathering a comprehensive collection of supplies will make your gift presentation smooth and enjoyable.
Start by collecting high quality wrapping paper that complements the gift and occasion. Look for paper with substantial weight that won’t tear easily and provides a crisp, clean appearance when folded. Consider texture and design - metallic finishes, subtle patterns, and solid colors can dramatically enhance the visual appeal of your wrapped gift. For elegant personalized gift presentation options, select papers that match the recipient’s style or the event’s theme.
Your essential toolkit should include precise cutting tools like sharp scissors specifically dedicated to paper cutting. Fabric or kitchen scissors can damage delicate wrapping paper, so invest in a pair designed for clean, straight cuts. Pair these with a cutting mat or sturdy cardboard surface to protect your workspace and ensure accurate cutting lines. Additional recommended tools include:
- Transparent tape with a clean, matte finish
- Double-sided tape for invisible seams
- Ribbon in various widths and textures
- Gift tags and markers
- Measuring tape or ruler
Organize your supplies in a dedicated container or tray before starting. This approach prevents frantically searching for materials mid-wrapping and keeps your workspace tidy. Pro tip: Keep a small dish nearby to collect tape scraps and cut ribbon ends, maintaining a clean and efficient wrapping station.
Choosing the right adhesive is crucial. Transparent tape works well for most situations, but double-sided tape creates more polished, seamless edges. Select tape that matches your paper’s color and finish for a professional look. For delicate or specialty papers, test the tape on a small corner to ensure it doesn’t leave residue or damage the surface.
Remember that gift wrapping is an art form that combines precision with creativity. By gathering quality supplies and preparing your workspace thoughtfully, you set the stage for creating memorable, beautifully wrapped presents that show genuine care and attention to detail.
Step 2: Choose the Perfect Wrapping Paper for Your Gift
Selecting the ideal wrapping paper transforms a simple gift into a memorable presentation that speaks volumes about your thoughtfulness. The right paper communicates your understanding of the recipient’s personality and the occasion’s significance. When choosing wrapping paper, consider more than just visual appeal - think about the message you want to convey and the emotional impact you wish to create.
Color psychology plays a crucial role in gift presentation. Warm tones like red and orange evoke excitement and passion, while cool blues and greens suggest tranquility and thoughtfulness. Neutral colors like kraft paper provide a sophisticated, understated elegance that works beautifully for professional or minimalist gift styles. For personalized gift ideas that truly resonate, match your paper’s tone to the recipient’s personal style.
Texture and quality matter significantly in gift wrapping. Avoid thin, cheap papers that tear easily or look wrinkled after minimal handling. Premium wrapping papers offer weight, durability, and a luxurious feel that enhances the gift’s perceived value. Consider papers with subtle textures like linen finish, metallic sheen, or gentle embossed patterns that add depth and sophistication to your wrapped present.
Consider the gift’s shape and size when selecting paper. Larger gifts might benefit from wider roll papers, while smaller presents could use more delicate, patterned sheets. Some strategic considerations include:
- Match paper complexity to gift size
- Consider pattern scale relative to gift dimensions
- Select papers that complement gift contents
- Avoid overly busy patterns that distract from the gift
Special occasions demand thoughtful paper selection. Holiday gifts might feature festive designs, while wedding or anniversary presents could showcase more elegant, refined papers. Seasonal themes can add an extra layer of personalization - think soft pastels for spring, rich jewel tones for winter celebrations.
Before final selection, do a quick visual test. Hold the paper against the gift and imagine the completed wrapped package. Visualize how ribbons and embellishments will interact with the paper’s design. The goal is creating a cohesive, harmonious presentation that reflects both the gift’s nature and the recipient’s taste.
Remember that wrapping paper is your first opportunity to communicate care and intention. A well-chosen paper sets the stage for the surprise and delight that follows when the recipient unwraps their gift.
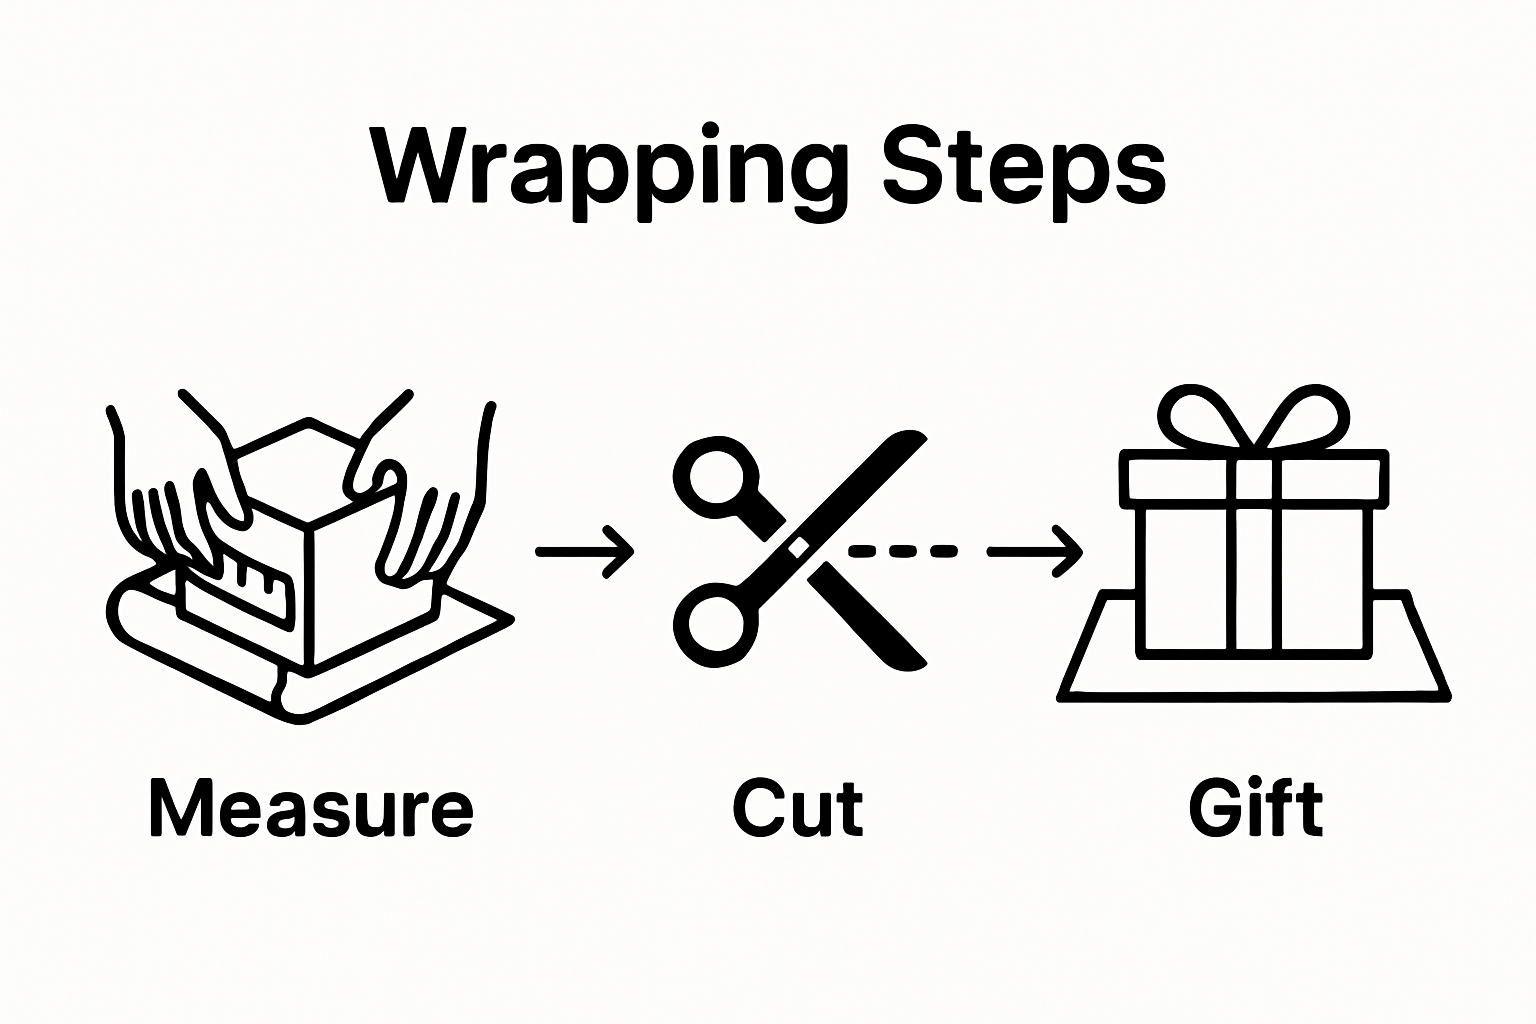
Step 3: Measure and Cut Wrapping Paper Accurately
Accurate measuring and cutting are the foundation of professional gift wrapping. A precise cut determines how smoothly your paper will fold, how seamless your edges will look, and ultimately how polished your final wrapped gift appears. This critical step transforms ordinary wrapping into an art form that showcases your attention to detail and care.
Precision begins with positioning. Place your gift box in the center of the unrolled wrapping paper, ensuring ample margins on all sides. A good rule of thumb is leaving approximately 2-3 inches of excess paper around the gift’s perimeter. This extra space allows for clean folds and prevents unsightly gaps or overstretched paper that can tear during wrapping. Discover more personalized gift presentation techniques to elevate your gifting game.
Your cutting surface matters significantly.
 A self-healing cutting mat provides a stable, smooth platform that protects your workspace and ensures straight lines. If you do not have a specialized mat, a large piece of cardboard or a thick cutting board can serve as an effective alternative. Position your ruler or measuring tape parallel to the paper’s edge, creating a guided cutting path that eliminates jagged or uneven cuts.
Choosing the right cutting tool is paramount. Sharp scissors designed specifically for paper will deliver the cleanest lines and prevent frustrating tears or frayed edges. Avoid using household scissors that might have dulled edges or accumulated residue. For exceptionally precise cuts, consider investing in a rotary cutter with a fresh blade. These tools glide smoothly through wrapping paper, creating professional-grade edges that elevate your gift presentation.
When measuring, employ these strategic techniques:
- Measure twice, cut once
- Use a metal ruler for straight edges
- Keep scissors or cutting tool perpendicular to the paper
- Make one continuous, smooth cutting motion
- Check paper alignment before each cut
Handling different paper types requires nuanced approaches. Metallic or glossy papers might require gentler cutting techniques to prevent crushing or wrinkling. Thicker papers demand sharper blades and steady pressure, while delicate papers need a lighter touch. Always test your cutting method on a small scrap piece to ensure clean results before cutting your main sheet.
Verify your cut by laying the paper flat and placing the gift box in the center. The edges should extend evenly on all sides, with no significant gaps or overhangs. A perfectly cut piece of wrapping paper sets the stage for crisp, professional folds and a stunning final presentation that reflects your skill and thoughtfulness.
Step 4: Securely Wrap Your Gift with Neat Edges
Wrapping a gift is an art that transforms a simple object into a moment of anticipation and excitement. Crisp, clean edges are the hallmark of a professionally wrapped present, signaling the care and attention you’ve invested in the gift. The technique involves more than simply covering the item - it’s about creating a polished, elegant presentation that builds excitement before the gift is even opened.
Begin by positioning your gift in the center of the paper, ensuring equal margins on all sides. Fold and crease each edge with deliberate, smooth motions. Use the flat edge of your fingernail or a bone folder to create sharp, precise creases that hold their shape. This technique prevents wrinkles and creates those clean lines professional gift wrappers are known for. Explore our collection of personalized gift wrapping accessories to elevate your wrapping game.
The cornerstone of neat wrapping is managing paper tension. Pull the paper taut but not so tight that it stretches or tears. Start with one side, folding the edge under slightly to create a clean, finished look. This small detail prevents fraying and gives your wrapped gift a professional appearance. Apply double-sided tape or carefully placed transparent tape to secure edges without visible adhesive marks.
Corners require special attention. Think of them like precise architectural folds - each triangular section should be crisp and symmetrical. The key is creating small, equal-sized triangular flaps on each side before folding them smoothly against the gift. Your folds should be tight enough to stay in place but not so rigid that they create unsightly bulges or wrinkles.
Consider these strategic wrapping techniques:
- Maintain consistent paper tension
- Create mirror-image folds on opposite sides
- Use minimal tape for a cleaner look
- Trim excess paper before final folding
- Smooth out air bubbles as you wrap
Different gift shapes demand unique approaches. Rectangular boxes are straightforward, while oddly shaped items might require creative wrapping strategies. For round or irregularly shaped gifts, consider using gift bags with tissue paper or creating a fabric wrap technique that embraces the item’s unique contours.
A final inspection is crucial. Hold your wrapped gift at arm’s length and rotate it, checking for even edges, smooth surfaces, and consistent folding. Look for any loose tape, potential tears, or uneven sections. Perfection is in the details - a well-wrapped gift communicates thoughtfulness before the recipient even sees what’s inside.
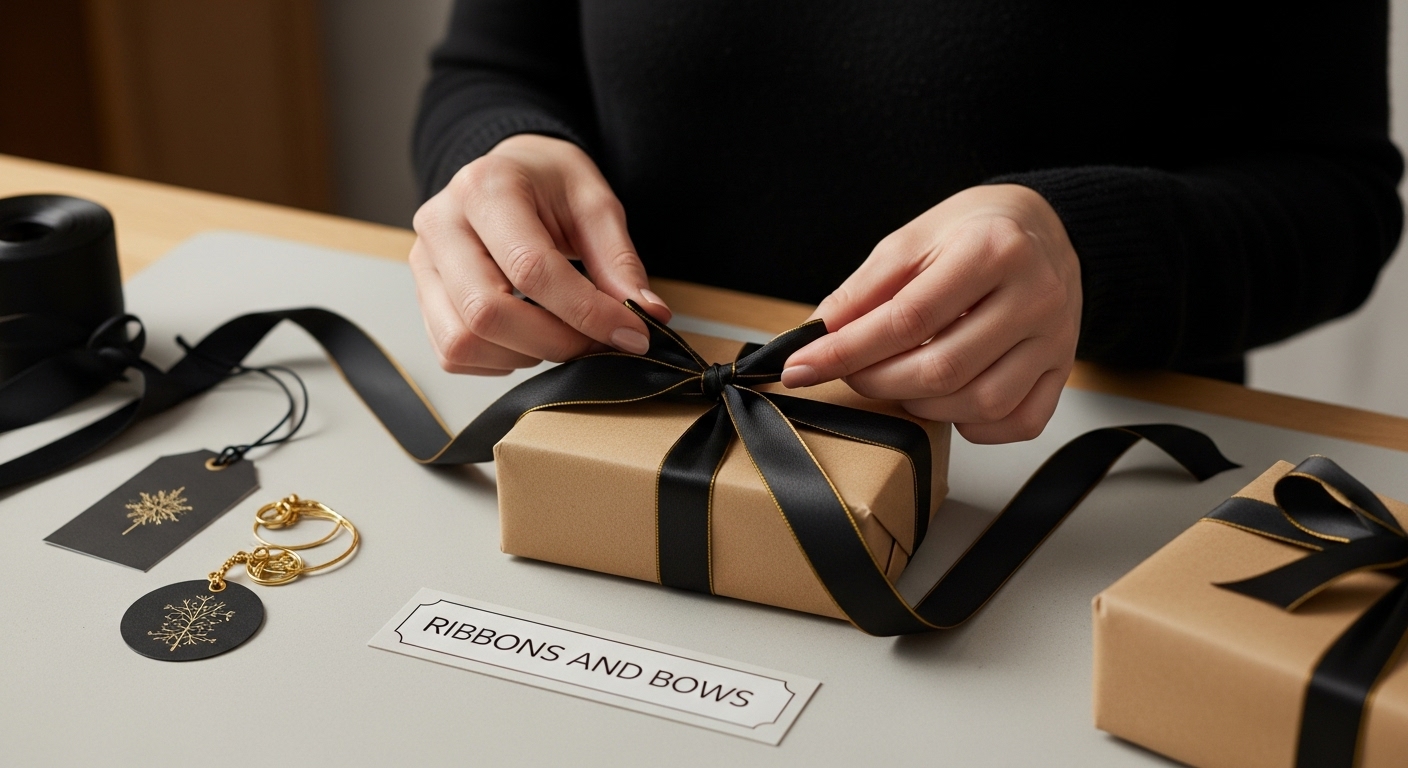
Step 5: Enhance with Ribbons, Bows, and Personalized Touches
The final flourish of gift wrapping transforms a neatly wrapped package into a memorable, emotional experience. Ribbons and embellishments are not mere decorative elements - they are silent storytellers that communicate your thoughtfulness and connection to the recipient. Selecting the right finishing touches requires a blend of creativity, intention, and understanding of the recipient’s personal style.
Ribbon selection goes far beyond simple color coordination. Consider texture, width, and material as critical components of your presentation. Silk ribbons offer luxurious elegance, while rustic twine suggests a handmade, intimate feel. Wider ribbons create bold statements, and thinner ribbons provide delicate, refined accents. Explore unique personalization ideas to make your gift truly extraordinary.
Mastering bow techniques elevates your wrapping from basic to beautiful. Classic bows require precise folding and symmetry - start by creating two equal loops, crossing them in the center, and pulling the ends through to create a balanced, professional look. For those seeking alternative styles, experiment with rosette bows, layered ribbons, or asymmetrical designs that reflect the gift’s personality.
Personalization transforms a wrapped gift into a cherished moment. Consider adding handwritten tags, small meaningful charms, or custom embellishments that speak directly to the recipient. A vintage brooch, a pressed flower, or a miniature ornament can turn an ordinary package into a deeply personal treasure. These small touches demonstrate that you’ve invested time and thought into the presentation.
Consider these creative enhancement strategies:
- Match ribbon texture to gift paper
- Use complementary color palettes
- Incorporate meaningful small objects
- Experiment with multiple ribbon layers
- Create unique bow variations
Practical considerations matter when adding final touches. Ensure ribbons are securely attached without creating bulky or awkward areas. Use double-sided tape or carefully hidden adhesive to keep embellishments in place. Test the stability of your decorations by gently rotating the gift - nothing should shift or come loose.
A perfectly enhanced gift tells a story before it’s even opened. The ribbon’s curl, the bow’s symmetry, and the personalized details all build anticipation.
 Your goal is to create a package so beautiful that the recipient momentarily hesitates to unwrap it, savoring the visual and emotional experience you’ve carefully crafted.
Step 6: Verify the Overall Presentation Before Gifting
The final verification stage transforms a good gift into an extraordinary presentation. Attention to detail separates amateur wrapping from professional craftsmanship. This critical review process ensures your carefully wrapped gift communicates the exact emotional message you intend to convey. Think of this step as your quality control moment - a chance to examine every aspect of your gift’s appearance from multiple perspectives.
Begin by stepping back and viewing the wrapped gift from different angles and distances. Lighting matters significantly in revealing imperfections. Natural daylight provides the most honest assessment, highlighting subtle wrinkles, tape edges, or ribbon irregularities that might go unnoticed in softer indoor lighting. Rotate the package slowly, examining each side with a critical yet compassionate eye. Discover insights about creating memorable gift experiences that go beyond mere wrapping.
Tactile examination is equally important. Run your hands gently over the wrapped surface, feeling for bumps, uneven edges, or loose tape. Smooth out any air bubbles or minor imperfections using your fingertips. The goal is a presentation that looks seamless and intentional. Pay special attention to corners and edges, ensuring they are crisp and well-defined without unnecessary bulk or awkward folding.
Consider the gift’s functionality and transportation. A beautifully wrapped package should not only look stunning but also remain intact during handling. Gently shake the gift to confirm that internal elements are secure and that ribbons and decorations will not easily come loose. Test the stability of your bow and any additional embellishments by moving the package around carefully.
Critical verification points include:
- Check ribbon tension and symmetry
- Verify no visible tape marks
- Ensure corners are precisely folded
- Confirm embellishments are secure
- Assess overall color and aesthetic harmony
Personalization elevates a wrapped gift from merely attractive to truly memorable. Consider whether your chosen wrapping style genuinely reflects the recipient’s personality. A minimalist friend might appreciate clean lines and neutral tones, while a more exuberant personality might welcome bold colors and intricate bow designs. Your final verification should answer the question: Does this presentation truly speak to the person receiving the gift?
The following table provides a quick-reference checklist to verify the overall appearance and quality of your wrapped gift before presenting it to the recipient.
| Verification Point | What to Check | Recommended Action |
|---|---|---|
| Ribbon Tension & Symmetry | Are ribbons tight and evenly placed? | Adjust and retie if uneven |
| Visible Tape Marks | Can you see any tape on the exterior? | Conceal with paper or ribbon |
| Folded Corners | Are all corners crisp and precise? | Re-crease or refold if needed |
| Embellishments Security | Are bows and attachments firmly in place? | Reinforce with hidden adhesive |
| Surface Smoothness | Any air bubbles, wrinkles, or bumps visible? | Smooth out with fingertips |
| Color & Aesthetic Harmony | Do all elements look coordinated together? | Replace or rearrange as needed |
Remember that perfection is not the ultimate goal - thoughtfulness is. A slightly imperfect wrap with genuine care behind it will always be more meaningful than a technically flawless but emotionally distant presentation. Your final moment of verification should leave you feeling confident and excited about the joy your gift will bring.
Ready to Turn Your Gift Wrapping Skills into a Personal Statement?
You just discovered how expert wrapping transforms any present into a heartfelt experience through crisp folds, quality paper, and personalized touches. Yet, one challenge often remains: finding the perfect gift that truly matches your wrapping efforts and reflects genuine care. Even the most beautifully wrapped gift can fall flat when the present itself lacks sentiment or individuality. Many readers want their wrapped gifts to stand out, yet struggle to find items worthy of that extra time and attention. If you care about detail, quality, and creating memorable moments, you need more than just wrapping tips—you need gifts that are crafted to be cherished.
Unlock a world of customized jewelry and heartfelt presents that look as special as your wrapping. Every product at Treasured Tale Store is designed with meaning, offering engraving, personalization, and beautiful packaging options for every occasion. Choose a gift that will match your new wrapping skills—because a truly thoughtful present starts at Treasured Tale Store. Start exploring today, and let your next wrapped gift deliver unforgettable joy.
Frequently Asked Questions
What supplies do I need for expert gift wrapping?
You will need high-quality wrapping paper, sharp scissors, tape (transparent and double-sided), ribbon, gift tags, markers, and a measuring tape or ruler. A dedicated workspace to keep your supplies organized also helps.
How do I choose the right wrapping paper for my gift?
Select wrapping paper based on color psychology, texture, and design. Consider the recipient’s style and the occasion. Look for paper that complements the gift’s shape and size, and avoid overly busy patterns that may distract from the gift itself.
What are the best techniques for measuring and cutting wrapping paper?
Measure 2-3 inches of excess paper around the gift for smooth folds. Use a self-healing cutting mat or cardboard for a stable surface, and employ sharp scissors or a rotary cutter for clean edges. Always measure twice before cutting to ensure precision.
How can I enhance my wrapped gift with ribbons and bows?
Choose ribbons that complement the wrapping paper in texture and color. Experiment with different bow styles and decorative embellishments, such as personalized tags or charms, to make your gift unique and special. Secure everything neatly to maintain a polished appearance.