

Everyone wants their jewelry to stand out. Yet most people just copy designs without much thought. The real secret is that your design theme is the heartbeat of any unique piece, turning ordinary materials into something meaningful and unforgettable. This first step is less about trends and more about telling your story with every cut, curve, and color.
Table of Contents
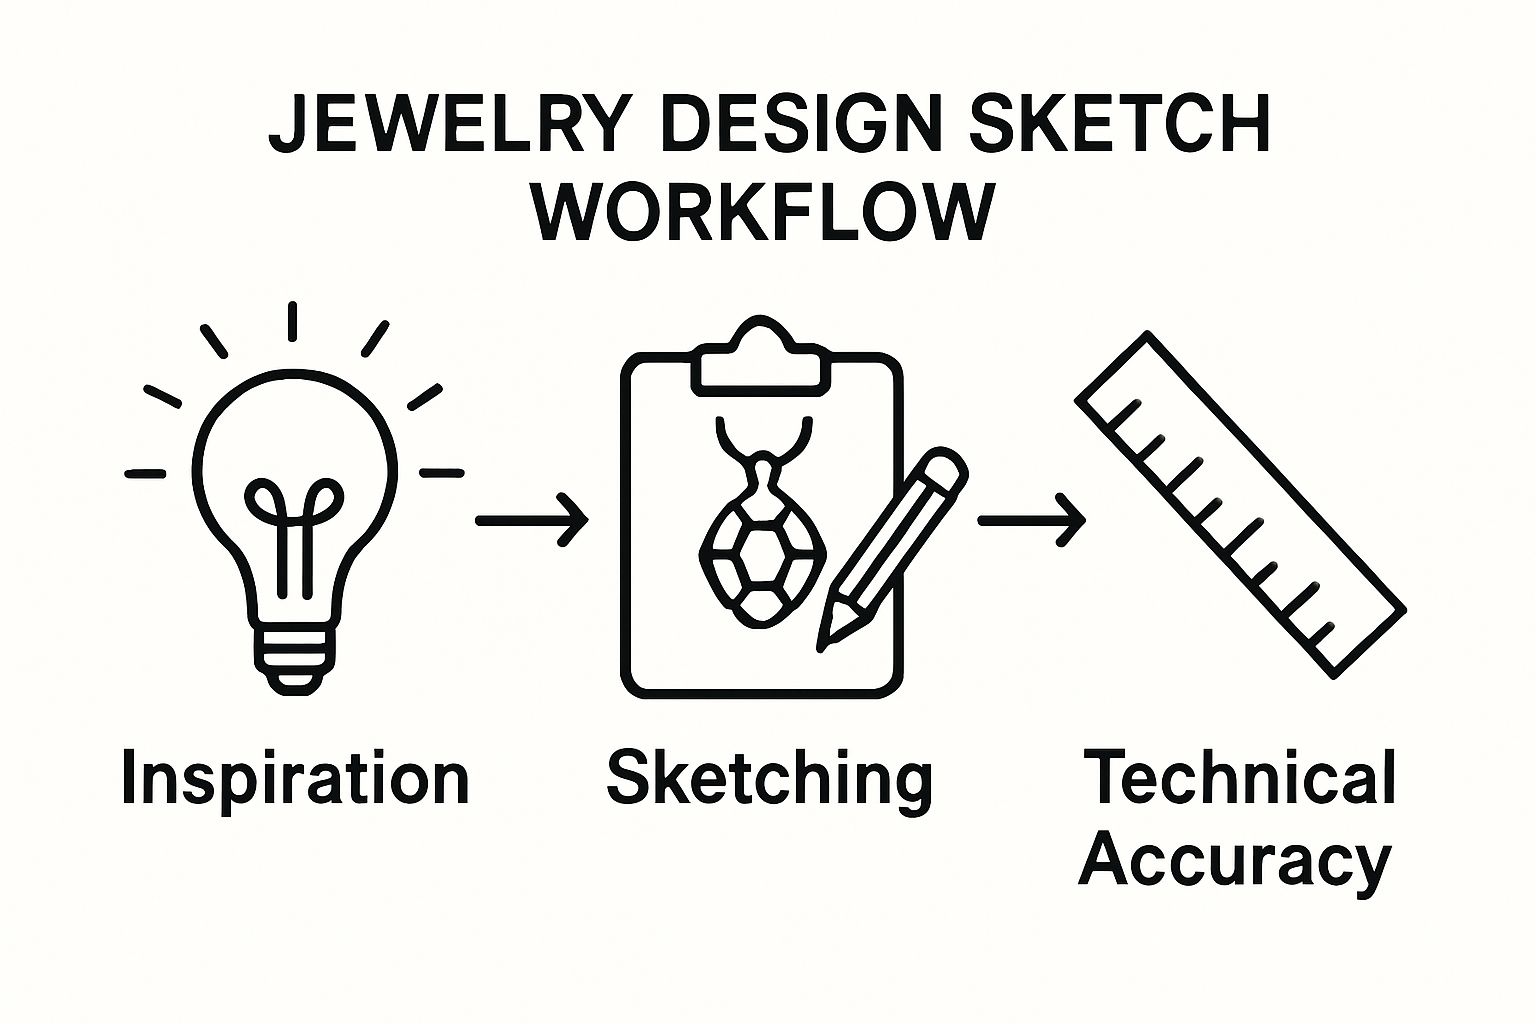
- Step 1: Define Your Design Inspiration And Theme
- Step 2: Gather Essential Materials And Tools
- Step 3: Create Detailed Sketches Of Your Jewelry Pieces
- Step 4: Execute Your Designs With Precision
- Step 5: Evaluate And Finish Your Jewelry
Quick Summary
| Key Point | Explanation |
|---|---|
| 1. Identify Your Unique Inspiration | Discover design themes through personal experiences and observations to guide your creative process. |
| 2. Assemble Essential Tools and Materials | Gather the right tools and materials for precision in jewelry design and ensure effective execution. |
| 3. Create Detailed Design Sketches | Utilize sketches to refine your ideas, capturing measurements and design nuances before fabrication. |
| 4. Focus on Precision During Execution | Meticulously transfer your designs into physical pieces, taking care with cutting, soldering, and finishing. |
| 5. Evaluate Your Work Thoroughly | Inspect finished pieces for quality and function, ensuring a professional result that tells your story. |
Step 1: Define Your Design Inspiration and Theme
Starting your jewelry design journey begins with discovering a powerful source of inspiration that will guide your entire creative process. Your design theme is the foundational heartbeat of any unique piece, transforming simple materials into meaningful artistic expressions.
Drawing inspiration requires keen observation and a willingness to explore your inner creative landscape. Artists often find remarkable design concepts in unexpected places like architectural structures, natural landscapes, emotional experiences, or cultural traditions. The Gemological Institute of America suggests observing your surroundings with an artist’s eye, allowing seemingly ordinary elements to spark extraordinary design ideas.
Consider developing your theme through personal reflection. Ask yourself provocative questions about what moves you emotionally: What memories resonate deeply? What symbols or imagery hold special significance in your life? Perhaps a childhood memory of your grandmother’s vintage brooch, the intricate patterns of a favorite textile, or the delicate symmetry of a flower petal could become the catalyst for your jewelry design.
To effectively capture your inspiration, create a visual mood board that collects images, color swatches, sketches, and textures representing your theme. Digital tools like Pinterest or physical cork boards work wonderfully for this purpose. This visual collection will serve as a consistent reference point throughout your design process, helping you maintain design coherence and artistic vision.
Key elements to document in your inspiration collection include:
- Color palette
- Textural references
- Symbolic motifs
- Emotional touchstones
- Structural patterns
Remember that authentic design springs from genuine personal connection. Don’t simply chase trends or attempt to replicate existing styles. Instead, allow your unique perspective to shine through, creating jewelry that tells a compelling personal narrative. Your design inspiration should feel like an extension of your inner world, transforming raw materials into wearable art that communicates something meaningful about your creative vision.
Step 2: Gather Essential Materials and Tools
Transitioning from inspiration to creation requires assembling the right toolkit for your jewelry design journey. Selecting appropriate materials and tools is crucial to transforming your creative vision into a tangible piece of wearable art. The Gemological Institute of America emphasizes that professional-quality tools can significantly impact the precision and quality of your final design.
Begin by investing in fundamental jewelry design tools that will become your creative companions. Your basic toolkit should include precision pliers with different jaw shapes, wire cutters, metal files, a jeweler’s saw with multiple blade sizes, and a sturdy work surface protected by a bench mat. These core tools will enable you to cut, shape, and manipulate metals with increasing confidence and skill.
For metalwork, you’ll need additional specialized equipment. Acquire a reliable torch for soldering, which allows you to join metal components seamlessly. Complementary items like flux, solder, pickle solution, and copper tongs will support your metalworking processes. Consider investing in a small bench block and hammer for forming and texturing metal, understanding that these tools will expand your design possibilities exponentially.
Materials selection is equally important. Start with accessible metals like sterling silver or copper for practice, gradually progressing to more expensive materials as your skills develop. Include wire in various gauges, metal sheets, and pre-cut metal blanks that provide flexibility in design exploration. For those interested in stone setting, acquire basic gemstone tools like setting burs, pushers, and a ring mandrel.
Essential safety equipment is non-negotiable in jewelry design:
- Safety glasses or goggles
- Dust mask or respirator
- Protective apron
- Heat-resistant gloves
Budget considerations are important. While professional-grade tools can be expensive, many beginners start with more affordable alternatives.
Here is a table summarizing the essential jewelry-making tools and materials described in Step 2, along with their primary use or safety role:
| Tool / Material | Purpose or Use |
|---|---|
| Precision pliers (various) | Shaping, bending, and manipulating metal |
| Wire cutters | Cutting wire and metal pieces |
| Metal files | Smoothing and refining metal edges |
| Jeweler’s saw (with blades) | Cutting metal into shapes |
| Bench mat & sturdy surface | Protecting your workspace |
| Torch | Soldering and joining metal |
| Flux, solder, pickle solution | Assisting soldering and cleaning metal |
| Copper tongs | Handling hot or treated metal safely |
| Bench block and hammer | Forming and texturing metal |
| Safety glasses/goggles | Eye protection during cutting and soldering |
| Dust mask or respirator | Respiratory protection when filing or polishing |
| Protective apron & gloves | Body protection from heat and debris |
Look for starter kits from reputable craft suppliers, which often provide a comprehensive set of basic tools at a reasonable price. Online marketplaces and local craft stores frequently offer student discounts or budget-friendly tool collections.
By the end of this step, you should have a functional toolkit organized in a dedicated workspace, with all necessary materials prepared for your first design attempt. Remember that tool acquisition is an ongoing journey – your collection will grow and evolve alongside your skills.
Step 3: Create Detailed Sketches of Your Jewelry Pieces
With your inspiration defined and tools gathered, it’s time to transform your creative vision into tangible design concepts through detailed sketching. Sketching is the critical bridge between imagination and actual jewelry creation, allowing you to explore design possibilities before committing to metal and stone. The Gemological Institute of America emphasizes that precise preliminary drawings are fundamental to successful jewelry design.
Begin by selecting high-quality drawing materials that support your design process. Invest in several types of drawing paper with different textures, ranging from smooth Bristol paper for precise technical drawings to rougher sketch paper for initial concept exploration. Graphite pencils with varied hardness levels (from 2H for light, precise lines to 6B for rich, dark shading) will provide nuanced drawing capabilities. Consider adding colored pencils or watercolor markers to introduce color and material texture into your design representations.
Technical accuracy matters as much as creative expression in jewelry design sketches. Use drafting tools like a ruler, compass, and French curve to ensure geometric precision in your drawings. Start with basic silhouettes and gradually add intricate details. For rings, begin by drawing the band’s profile and width, then layer in stone placement, setting styles, and decorative elements. Bracelets and necklaces require similar systematic approaches, focusing on proportions, link connections, and overall wearability.
Digital tools offer additional design flexibility for those comfortable with technology. Software like Adobe Illustrator or specialized jewelry design programs can help create precise, scalable sketches. These digital platforms allow easy modification, color experimentation, and quick iterations of your initial concepts. Explore our guide on understanding jewelry for special occasions to gain inspiration for thematic design approaches.
Key elements to capture in your jewelry sketches include:
- Precise measurements
- Stone placement and sizes
- Metal type and texture
- Setting styles
- Potential color variations
Don’t be discouraged by imperfect initial sketches. Design is an iterative process where each drawing brings you closer to your final vision. Experiment with multiple design variations, allowing your creativity to flow freely.
 Photograph or scan your best sketches to create a design portfolio that tracks your creative journey and serves as a reference for future projects.
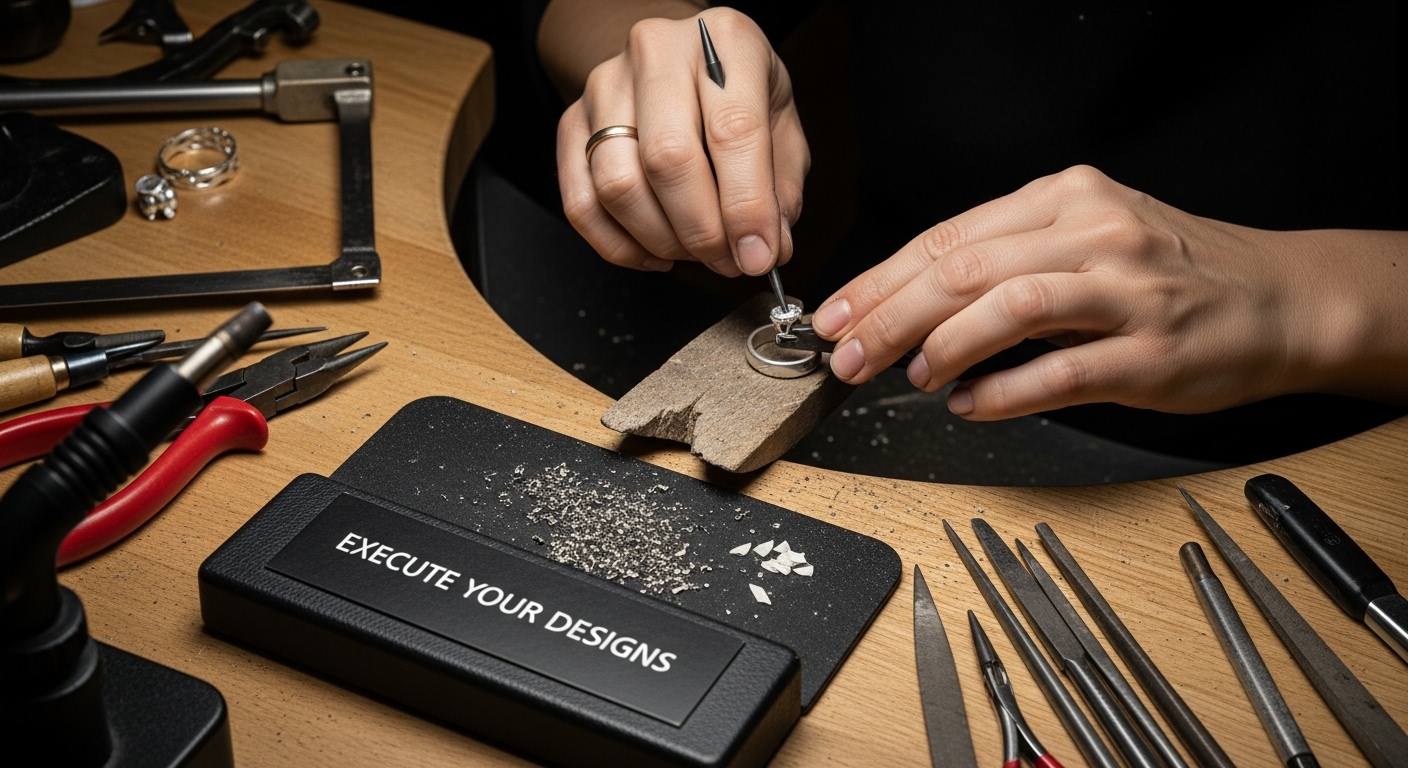
Step 4: Execute Your Designs with Precision
Transitioning from sketches to actual jewelry creation demands meticulous attention to detail and a systematic approach to craftsmanship. Precision is the hallmark of exceptional jewelry design, transforming your creative vision from paper into a tangible, wearable piece of art. The North Bennet Street School emphasizes that successful execution requires both technical skill and artistic intuition.
Begin by preparing your workspace with surgical-like organization. Arrange your tools systematically, ensuring each instrument is clean, accessible, and positioned for efficient use. Transfer your detailed sketch onto your chosen metal using transfer paper or carefully scribing your design directly onto the surface. Marking your metal precisely is crucial, as even slight deviations can significantly impact the final design’s integrity.
Metalworking techniques require patience and controlled movements. Start by sawing your metal using a jeweler’s saw with the appropriate blade tension and angle. Move the saw in smooth, consistent strokes, allowing the blade to do the work without forcing it. For intricate designs, practice cutting on scrap metal to develop muscle memory and understand how different metal types respond to cutting techniques. File edges meticulously, working progressively from coarser to finer files to achieve a smooth, refined finish.
Soldering represents a critical phase where precision becomes paramount. Prepare your metal surfaces by cleaning them thoroughly and applying flux uniformly. Use a torch with careful, controlled heat application, moving the flame consistently to prevent overheating or damaging delicate components. Practice temperature control and joint alignment on practice pieces before attempting your final design. Remember that soldering is as much about technique as it is about understanding how different metals interact under heat.
Essential execution checkpoints include:
- Precise metal cutting alignment
- Uniform surface preparation
- Consistent soldering temperatures
- Smooth filing and finishing
- Accurate stone setting techniques
If working with gemstones, approach setting with extraordinary care. Use specialized setting tools to secure stones without causing damage, ensuring each stone sits perfectly within its designated space. Take time to check alignment, symmetry, and security from multiple angles. A truly exceptional piece reveals its quality in the subtlest details.
Finally, complete your piece with careful polishing and finishing. Use progressively finer polishing compounds and tools to achieve a professional, lustrous result that highlights your craftsmanship. Inspect your work under good lighting, examining every angle to ensure your executed design matches your original creative vision.
Step 5: Evaluate and Finish Your Jewelry
The final stage of jewelry design transforms your crafted piece from a raw creation into a polished, professional work of art. Evaluation and finishing are critical processes that distinguish amateur work from professional craftsmanship. The Rhode Island School of Design emphasizes the importance of meticulous assessment and refinement in jewelry making.
Begin your evaluation process by examining your piece under strong, direct lighting from multiple angles. Use a jeweler’s loupe or magnifying glass to inspect every detail, checking for imperfections that might be invisible to the naked eye. Look critically at solder joints, ensuring they are clean and seamless. Assess stone settings for precision, verifying that each gem sits securely and symmetrically within its designated space. Mechanical integrity is as important as aesthetic beauty in jewelry design.
Polishing represents the transformative stage where your piece gains its final luminosity. Start with progressively finer polishing compounds and tools, working systematically across the entire surface. Use a polishing motor with different buffing wheels and compounds designed for specific metal types. For silver pieces, begin with a coarser compound to remove minor scratches, then transition to finer compounds that build a brilliant shine. Pay special attention to intricate areas, using smaller polishing tools to reach delicate design elements without causing damage.
Safety and comfort are crucial considerations in the finishing process. Smooth any sharp edges or potential catching points, especially in rings or bracelets that will frequently contact skin. Test the piece’s wearability by trying it on, ensuring it sits comfortably and moves naturally with body movement. Check clasps and connections for smooth operation, making any necessary adjustments to improve functionality.
This table organizes the key evaluation criteria from Step 5, providing a quick checklist to ensure your jewelry is ready for wear or presentation:
| Evaluation Criterion | What to Check | Why It Matters |
|---|---|---|
| Structural integrity | All joints secure, no loose elements | Prevents breakage or loss |
| Surface smoothness | No rough spots, burrs, or scratches | Ensures comfortable and professional feel |
| Stone security | Stones are firmly and symmetrically set | Avoids losing valuable stones |
| Symmetry and alignment | Design elements match visually from all angles | Contributes to aesthetic appeal |
| Overall balance | Piece looks harmonious and well-proportioned | Reflects quality craftsmanship |
Key evaluation criteria include:
- Structural integrity
- Surface smoothness
- Stone security
- Symmetry and alignment
- Overall aesthetic balance
Consider photographing your finished piece from multiple angles, creating documentation of your design journey. These images serve not only as a personal record but can also be valuable for future portfolio development or sharing your creative process. Professional photographers recommend using neutral backgrounds and soft, diffused lighting to capture the piece’s true details.
Finally, prepare your jewelry for presentation or wearing. Clean the piece thoroughly using appropriate metal-specific cleaning solutions, removing any remaining polishing compounds or fingerprints. Store the piece in a soft, protective container that prevents scratching and maintains its newly achieved brilliance. Remember that a truly exceptional piece of jewelry tells a story through its craftsmanship, reflecting the designer’s skill, creativity, and attention to detail.
Ready to Turn Your Jewelry Designs Into Meaningful Gifts?
You have learned how to spark inspiration and bring creative visions to life with personalized jewelry design. But sometimes, turning those ideas into the perfect gift can feel overwhelming, especially when you want something truly unique and emotionally meaningful. Many people find it difficult to source high-quality customized pieces that reflect their story and sentiment, especially for special occasions like Mother’s Day, anniversaries or celebrating milestones with loved ones.

At Treasured Tale Store, we make it easy to translate your one-of-a-kind ideas and heartfelt intentions into custom-crafted jewelry and gifts. Our wide selection of engraved keepsakes, message cards, and themed pieces lets you choose a design that speaks your language of love. Every piece can be personalized for your recipient and occasion, whether you want to add a name, a date, or a special message. Let us help you create a gift that will linger in memory long after the moment has passed. Visit the Treasured Tale Store today to start transforming your inspiration into reality. If you need thoughtful ideas for special moments, explore more in our latest news section. Your perfect, personalized gift is just a click away—make it memorable now.
Frequently Asked Questions
What are some sources of inspiration for designing jewelry?
Inspiration for jewelry design can come from various places, including architectural structures, natural landscapes, cultural traditions, and personal emotional experiences. Reflecting on personal memories and creating a visual mood board can help capture and organize these inspirations.
What tools do I need to start designing jewelry?
To begin designing jewelry, essential tools include precision pliers, wire cutters, metal files, a jeweler’s saw, and a sturdy work surface. Additional specialized tools may be needed for metalworking and gemstone setting, such as a reliable torch, setting burs, and a ring mandrel.
How can I create detailed sketches for my jewelry designs?
Start by selecting high-quality drawing materials, such as different textures of drawing paper and various pencils. Use drafting tools for precision and experiment with multiple design variations. Digital tools like Adobe Illustrator are also helpful for creating precise sketches and allowing quick modifications.
What steps should I follow to evaluate and finish my jewelry pieces?
Evaluate your piece by inspecting it under strong light for imperfections, ensuring stone settings are secure, and examining solder joints. For finishing, use progressively finer polishing compounds to achieve a brilliant shine and remove any sharp edges. Ensure the piece is comfortable to wear and free from scratches.